

After I ordered some Decals from Amazon and SamuelDecal I wanted to try them for first time of course. This is not the best way how to do it, or tutorial how to applying them in best way. Just want to share my experience with Decal application for first time with you guys. Of course before first try I check various sources and choose optimal way for me xD Hope you guys enjoy my first acquaintance with decals xD For the vision I added bellow completed model before and after decal application, such a difference xD

Before all that I tried regular stickers, which are included with most RGs and MGs and some HGs too. I have nothing against some foil stickers like eye stickers or some detail stickers, they took quite well, but regullar transparent stickers are something another. I just dont like them, dont like visibly corners, contours and overall look. So I was looking for another alternative and after short time I found another option - waterslide decals. I was impressed how nice this decals looks. It was decided xD
Before we start with tools what we need I must say that we have tools which are recommended and tools which are optional.
BASE STUFF: Manual with right positioning, Decals itself
RECOMMENDED TOOLS: Hobby knife or small detail scissors, tweezers, small water container, cotton swab, toothpick or plastic stick, any sort of paper towels
OPTIONAL TOOLS: Mr. Mark Softer, Mr. Mark Setter

Its good to keep things organized before we start with everything. Personally I made a marks and notes directly on my manual. Then I have control over decals which are applied on kit already and which are not. Which decals you apply in completely on you, some people like them more than another. Its importand not to overdo amount of decals, model then look ungly.

There are two types of decals: precut and not precut. On the picture under we can see precut type, we can clearly saw edges when we look into the light. Precut types are easiest to work with, because they are just precut, we do not have to cut edges one more time, that feature make things easier. Its always better to buy precut types when we have opportunity.

Be prepared for some detail, precize and prolonged work with lot of concentrate and decisions. On the other hand a lot of fun to watch how your model looks better and better xD

After preparing all stuff we are ready for first decal applying. First thing what we must do is to cut decal itself (hobby knife or scissors) . We must be carefull and does not cut through decal. Its always good to find right angle to saw decal edges. Then you can be sure that we dont cut decal. Some decals are pretty tiny to work with, so be prepared to some detail work. We also need tweezers for secure holding and for manipulating. I use tweezers from my Fiancee, later I must buy better ones xD


Our decal should now easily slide over the surface and we can place decal on desired place. For this purpose we can use toothpick, cotton swab or even laser sword xD Toothpick works best for me, but we must be carefull and not destroy soft texture of decal. When even after that decal does not move simply add more water. Base application is done, now comes optional part of aplying.

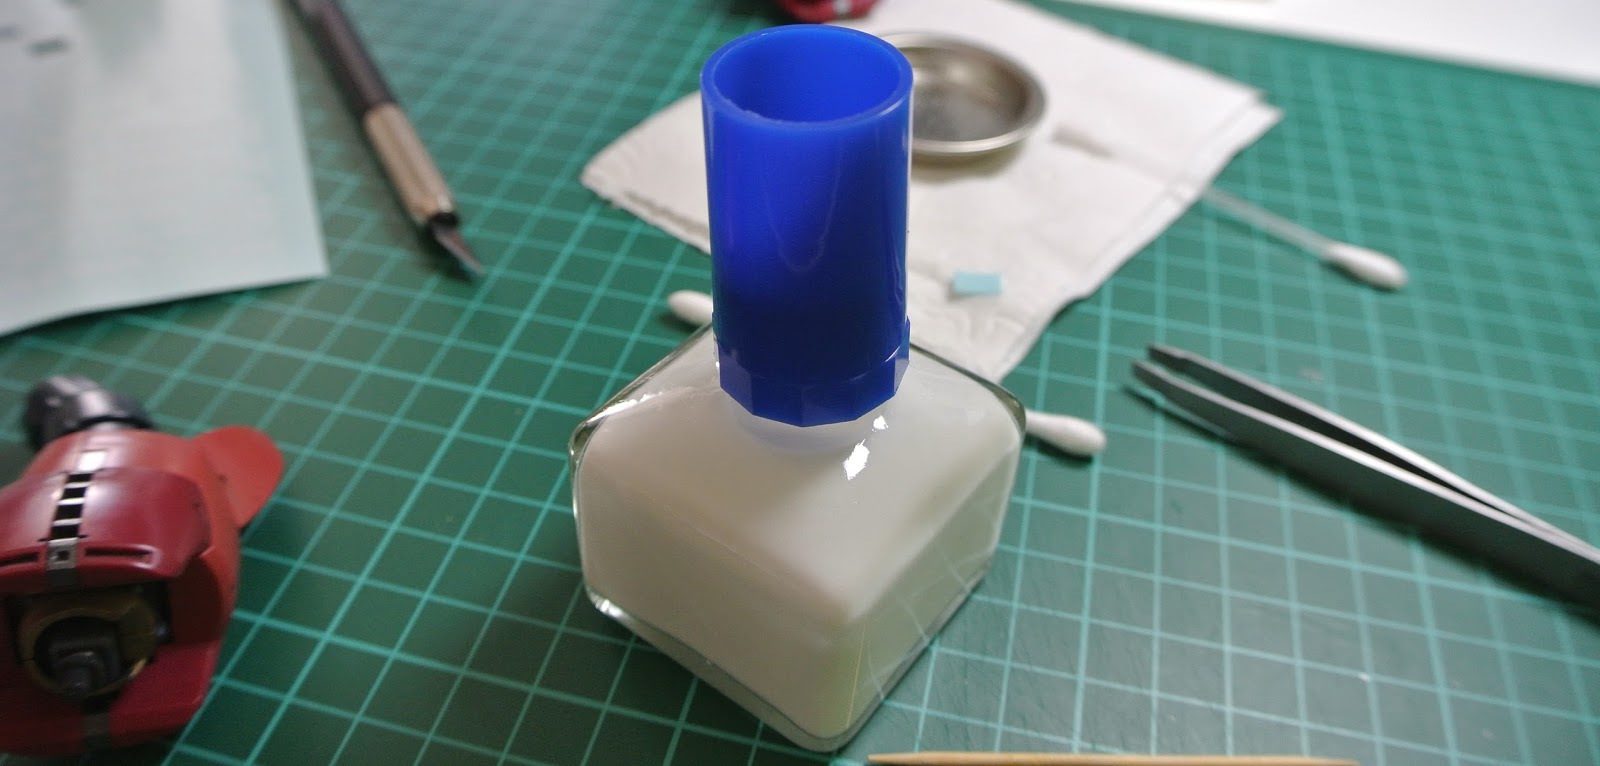
There he is Mr. Mark Setter in full glory. I apologized for missing label, I had an accident with enamel thinner xD For what is this thing good ? Mr. Mark Setter simply both softens and strengthens adhesiveness. We can say that Mr. Mark Setter is something like cement for waterslides xD Simply decals are better applied thanks to softing effect and after that, they hold position better and they are more durable. Mark Setter is also the perfect solution for applying decals to models that you aren't planning on top coating after applying the decals. I used Mark Setter in 90% cases on flat surfaces or slightly hooked surfaces.
When we want apply decal on rough and complicated surfaces we must use Mark Softer. When I previously sad that Mr. Mark Setter is something like cement then Mr. Mark Softer is refiner xD He simply softens decal in such a way, that he change shape and adjusts to the surface perfectly. Its recommended to apply softer before and after decal application, but is not good to overdid it, softer can easily corrupt decal itself. Its always good to suck out excess xD Picture below show us how I used Softer for first time on my RG ZGok, came up pretty well, happy with result xD

So, back to decal application. After we choose desired place for decal, we can use Mr. Mark Softer or Setter. Before we start its good to shake bottle for a short time, just be sure that all parts are mixed. I personally use Setter in 90% cases for flat or slightly rounded pieces. Softer for rough and complicated surfaces. Setter only after I apply decal, Softer before and after. Does not matter if we miss. Dont apply too much and also dont forget to suck of excess with cotton swabs. Has proved to me that I pressed chopstick more than dragged, our decal then does not move so often. Let it dry for a short time and decal application is done xD When we use Setter or Softer our decal is now more durable and without roughness.

In the end some pictures with Decals already applied. I must say that this technique bring to our kits another level of details and even more value. Decals are freedom xD

I applied all decals according to the instructions and some addition decals by my own taste. Everything looks kinda better xD

Very good example how good Mr. Mark Softer is for rough sufraces and how decal looks after application. Came up pretty nice xD

Completed model after panel-lining with Tamiya Panel Line Accent Colour and mainly after Decal application ( decals are from SamuelDecal ). What to say in te end ? I highly recommended decal applying instead of regular stickers, they look better, hold position better, edges are not so much visible and overall look is great. Process is not hard, just a little Time-consuming, but personally I enjoyed it.

This is the best tutorial on decals I have ever seen. Thank you so much~!
ReplyDeleteThank You so much, I appreciate it xD
Deletei still deciding whether i should bought mark softer or not.
ReplyDeletethis article really helps.
thanks
Hi, Iam glad that I could help You.
DeleteMr. Mark Softer and Setter are very good
and both worth the money xD
You will love the results for sure xD
This comment has been removed by the author.
Delete